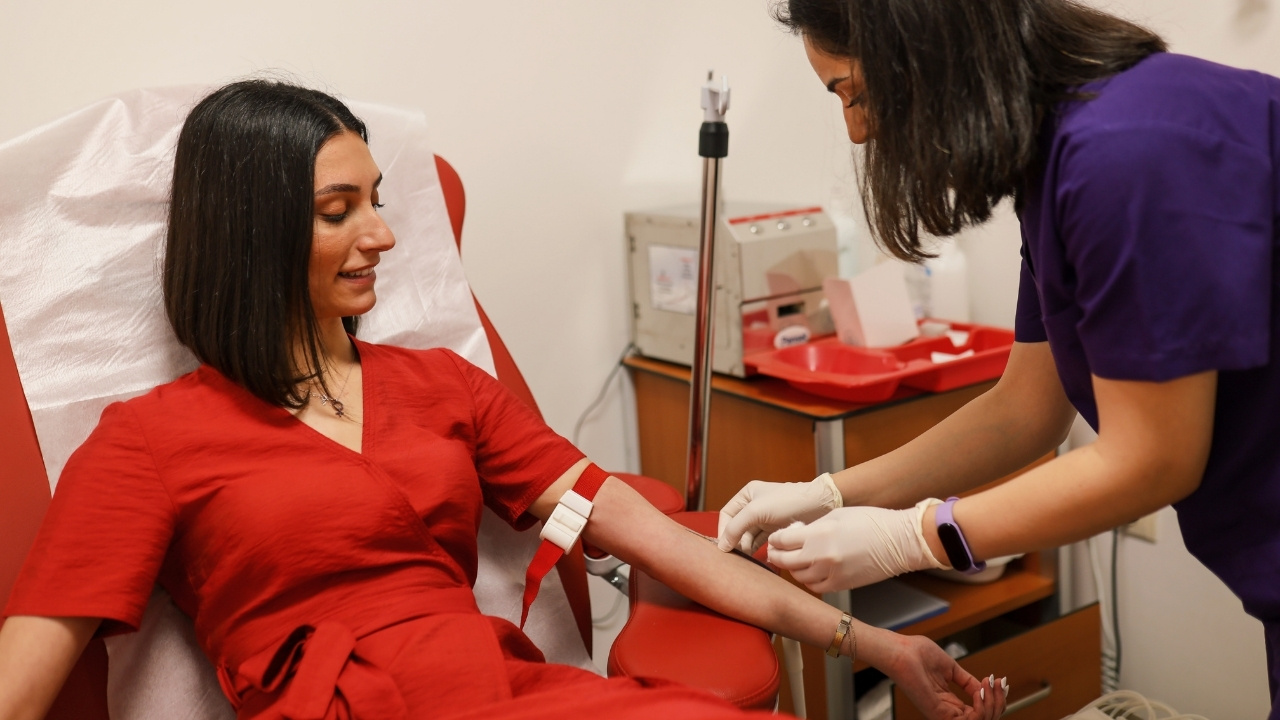
Hanging a unit of packed red blood cells or platelets is one of the highest-risk procedures you perform at the bedside. Transfusions save lives every day, but even a small oversight in verification or monitoring can lead to a severe, life-threatening reaction.
Done right, a transfusion stabilizes a patient. Done wrong, it can turn dangerous in minutes.
That risk is exactly why blood administration intimidates so many nurses. Safe blood transfusion practice in nursing is built on protocol, not instinct. The reassuring part is that the vast majority of fatal errors trace back to misidentification at the bedside rather than to a lab mistake, which means that a nurse who doesn’t rush the protocol avoids the errors that cause the most harm.
This guide covers the pre-transfusion safety checks, step-by-step administration, a quick reference to reactions, and the emergency protocol every nurse should master. It is an educational overview, not a replacement for your facility's transfusion policy, provider orders, or current AABB standards, so always practice within those.
Blood products you will commonly give
Not every transfusion involves whole blood. In practice, patients receive specific components based on their distinct clinical needs:
Pre-transfusion safety checks
Preventing an adverse outcome begins long before the bag reaches the IV pole. Work through the following checks carefully and in order every time.
1. Verify the provider's order
Confirm the order for the specific blood component, the quantity, the rate, and any special preparation. On oncology units in particular, products often need to be irradiated, washed, or CMV-negative, so check for those requirements.
2. Confirm informed consent
Check that a valid, signed consent form is on file before you go any further. Many facilities set an expiration on transfusion consent, so confirm it has not lapsed since it was obtained. Emergency releases follow a separate pathway under your facility's massive transfusion or uncrossmatched protocol.
3. Confirm blood compatibility and typing
Check that a current type and crossmatch is active in the lab system. Most hospital policies require a new type and crossmatch every 72 hours, so confirm the sample has not expired.
4. Conduct 2-nurse bedside verification
Two licensed nurses, or a single registered nurse (RN) and a provider per facility policy, must verify the product together at the bedside immediately before administration. Confirm and match each of the following out loud:
- The patient's full name and date of birth, using 2 identifiers
- The medical record number, matched against the patient's identification band
- The donor unit number and pool number, if applicable
- The ABO group and Rh type of both the patient and the donor bag
- The expiration date and time of the product
- A physical inspection of the bag for clots, discoloration, bubbles, or leaks
5. Obtain baseline vital signs
Take a full set of vital signs within 30 minutes before starting, as they will be your baseline for any reaction. If the patient is febrile, meaning a temperature over 100.4°F or 38°C, notify the provider before you spike the bag, because a baseline fever can hide an early reaction.
Steps to take during a transfusion
Safe administration depends on the right equipment, tight timeframes, and consistent monitoring.
Equipment and IV compatibility
The details here are not optional, because the wrong fluid or filter can harm your patient.
- Primary IV solution: Use 0.9% normal saline only. Never run blood with dextrose solutions (causes red cell hemolysis), lactated Ringer's (calcium promotes clotting), or medications.
- Tubing: Use dedicated blood administration tubing with a standard 170- to 260-micron filter. Change the set after every 2 to 4 units or per facility policy.
- Catheter size: An 18-gauge or 20-gauge peripheral IV is preferred for adult red cell transfusions. In routine medical-surgical cases, a 20-gauge is most common, though a 22-gauge can work for smaller veins.
- Rapid warmers and infusers: In emergency settings, always use approved rapid blood warmers when infusing cold products quickly to prevent hypothermia and cardiac dysrhythmias.
The first 15 minutes
Infuse the blood slowly for the first 15 minutes, typically 1 to 2 mL per minute, or roughly 60 to 120 mL per hour. Stay at the bedside during this window, because the most severe reactions, such as acute hemolytic or anaphylactic events, usually appear after the first few milliliters reach circulation.
Ongoing monitoring and time limits
If no signs of a reaction appear after 15 minutes, recheck vital signs and increase the rate to the prescribed speed. From there, keep a close watch.
- Reassess vital signs at 30 minutes, then hourly until the unit is complete.
- Check vitals once more 30 to 60 minutes after the infusion ends.
- Finish each unit within 4 hours of it leaving the blood bank refrigerator, and stop and return any blood still hanging past that window due to the risk of bacterial growth.
Blood transfusion reaction types
Recognizing an adverse reaction quickly is critical, and knowing the patterns helps you act fast. Every suspected reaction starts with the same 6 steps, covered in the section that follows. The table below breaks down the primary reactions and what each one requires beyond that baseline.
What to do if a reaction occurs
If you suspect any reaction, no matter how mild, act immediately and systematically:
- Stop the transfusion immediately: Disconnect the blood tubing right at the patient's IV catheter hub. For a mild allergic reaction, your facility's policy may allow you to pause rather than stop.
- Maintain IV access: Attach fresh tubing with 0.9% normal saline at a keep-vein-open (KVO) rate. Do not flush the blood left in the primary tubing into the patient.
- Assess and stabilize: Check vital signs, protect the airway, administer oxygen, and listen to lung sounds. In high-acuity settings like the critical care unit or the ER, call a rapid response or code for any acute instability.
- Notify the team: Contact the provider and the blood bank without delay.
- Return the blood: Send the bag, remaining product, tubing, and IV solution back to the blood bank for lab analysis.
- Collect required specimens: Draw post-reaction blood samples and a fresh urine sample per your facility's reaction protocol.
Documentation and follow-up
Thorough charting protects your patient and completes the clinical record. Once the patient is stable, document:
- Component type and donor unit number
- Exact start and stop times, plus total volume infused
- Pre-infusion, 15-minute, hourly, and post-infusion vital signs
- In the event of a reaction: exact onset time, symptoms observed, interventions given, provider notifications, and product return confirmation
Building clinical confidence with PRN work
Mastering a high-stakes skill like blood administration lays the foundation for an adaptable nursing career, and transfusions arise in almost every acute and outpatient setting. The more often you do them with support nearby, the more natural they feel.
Per diem work is a flexible way to build those reps where staffing needs are highest. On a platform like Nursa, you can pick up PRN shifts in your preferred specialties and work as an independent contractor on a schedule you design.
Safe transfusion practice starts with verification
Safe transfusion practice comes down to strict bedside verification, meticulous monitoring, and rapid action at the first sign of trouble. Verify the order and the patient, prepare correctly, never rush the 2-person check, stay close during the first 15 minutes, and know exactly what your reaction protocol requires.
Keep patient safety at the center every time, and you protect both your patients and your license.
Ready to take your clinical skills into flexible healthcare settings near you? Create your account on Nursa today and find open PRN shifts in your area.
Sources: