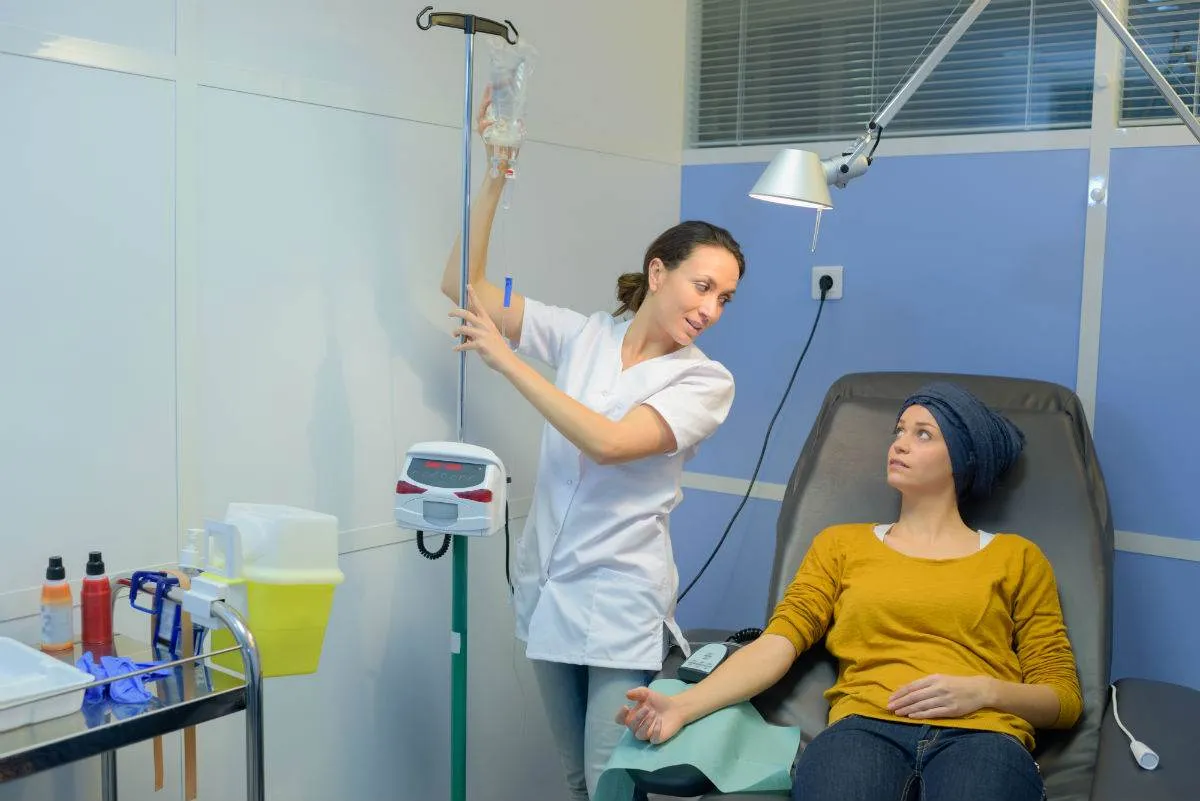
Don’t you love it when a patient has “easy” veins?
But that’s not always the case, is it?
Every nurse knows the feeling. You step into a room with a catheter kit, look at your patient's arms, and find edema, severe dehydration, or scarred veins from frequent hospital stays.
Starting a peripheral IV on a difficult stick can test the confidence of even seasoned clinicians.
The best IV starters are not the ones with magic hands. They slow down, figure out why the stick is hard, and match their approach to the problem in front of them.
Whether you place IVs in the emergency room, manage chemotherapy access, or float across units, the strategies below help you land difficult lines with less stress and fewer sticks.
In this guide, find a collection of practical tips, not a substitute for hands-on training or your facility's vascular access policy, so pair it with both.
Why do hard IV sticks happen?
Understanding why a vein is difficult to cannulate determines the approach you should take. A few physiological and clinical factors come up again and again:
- Dehydration and low volume: Low fluid volume causes veins to flatten and collapse under needle pressure.
- Peripheral edema: Fluid in the tissue hides surface landmarks and pushes veins deeper from the skin surface.
- Fragile or thin vessels: Common in older adults or patients on long-term corticosteroids, these veins blow easily under pressure.
- Sclerosed or scarred veins: Frequent IV therapy, IV drug use, or chemotherapy can turn supple vessels into hard, cordlike tissue.
- Vasoconstriction: Cold rooms, acute anxiety, and physical stress activate the sympathetic nervous system and clamp vessels down.
How do you match the vein to the right approach?
A hard-to-find vein is not a one-size-fits-all problem, and the fix depends on the underlying cause. Poking first and asking questions later burns usable access sites that you cannot get back. Use this guide to match what you feel and find with a smarter move.
Prepare the patient and the site
Rushing an IV start on a tough patient almost guarantees a miss. Two extra minutes of preparation dramatically raises your first-attempt success rate.
Warm the extremity
Heat is a powerful vasodilator. Apply a warm pack or a warm, moist towel to the chosen arm for 3-5 minutes before you apply the tourniquet. This dilates veins, brings them closer to the surface, and makes them easier to palpate.
Let gravity do the work
Position the arm below heart level for a minute or two. Gravity encourages venous pooling, filling small or sluggish veins.
Use a blood pressure cuff
Standard rubber tourniquets can pinch fragile skin and damage delicate vessels. Instead, place a blood pressure cuff on the arm and inflate it to about 30-40 mmHg (just below diastolic pressure). This gives you uniform venous occlusion without restricting arterial flow.
Keep the patient calm
Anxiety triggers vasoconstriction that shrinks your target, making a few reassuring words a clinical tool rather than just a kindness. Explain what you are doing and encourage the patient to take a slow, deep breath before you begin.
Make the vein easier to feel
Appearance can deceive you. A vein that looks large may be superficial and fragile, while one you cannot see may be deep, large, and spongy to the touch.
- Palpate, do not just look: Choose a vein by how it bounces back when pressed, feeling for a soft, pliable, rubbery tube.
- Traction is everything: The single biggest reason veins roll is poor skin traction. Pull the skin taut below the site with your non-dominant hand before you enter.
- Tap gently, never slap: Vigorous slapping causes reflex vasospasm. Stroke the vein lightly or tap softly with two fingers to encourage vasodilation.
Insertion and the all-important flash
Once you penetrate the skin, small adjustments decide whether the line threads smoothly or fails. Follow this sequence carefully:
Enter at 15-30° ➔ Watch for Flash ➔ Lower Angle Flat ➔ Advance 1-2 mm ➔ Thread Catheter
- Enter at the correct angle: For superficial veins, use a shallow 10-15-degree angle. For deeper vessels, increase to 20-30 degrees.
- Lower your angle on blood return: The moment you see the flash in the chamber, stop and drop the needle almost flush with the skin.
- Advance 1 to 2 millimeters: This step is often missed. The steel needle tip sits slightly ahead of the plastic catheter. On the first flash, only the needle is in the vein—advancing the whole unit 1 to 2 mm ensures the catheter tip enters the lumen before you thread.
- Float the catheter if you hit resistance: Do not force it. Release the tourniquet, attach a 0.9% normal saline syringe, and gently flush while threading, so the fluid opens the vessel and floats the catheter past valves or turns.
When physical technique is not enough
When your clinical assessment says a stick will be tough, reach for advanced tools early rather than after several failed attempts:
- Vein finders and transillumination: Near-infrared devices highlight superficial veins that are otherwise invisible on darker skin tones or beneath surface tissue.
- Ultrasound-guided IV placement (USGPIV): Where you are credentialed, ultrasound lets you differentiate deep veins from adjacent arteries and nerves, enabling real-time visualization of the needle tip as it enters the vessel.
- Longer catheter selection: Deep veins require longer catheters (typically 1.75 to 2.5 inches) to prevent the line from dislodging when the patient moves their arm.
- Vascular access escalation: For patients who need long-term therapy, requesting a midline or PICC order from the provider is often kinder than repeated peripheral attempts.
What do you do when you miss?
Good nurses still miss when it comes to IV insertion. Missing a stick is a normal part of clinical practice, and how you handle it reflects your patient-centered focus. Sticking a patient over and over is not persistence—it causes pain, burns a usable site, and raises the anxiety that makes the next try harder.
- Follow the two-attempt guideline: Infusion Nurses Society (INS) standards recommend a maximum of two insertion attempts per clinician before handing off.
- Know when to call for help: After two misses, pass the task to a colleague, a vascular access specialist, or an ultrasound-trained nurse. On a busy medical-surgical floor, that often means paging the IV team early.
- Reassure the patient: Acknowledge the difficulty calmly and honestly, explaining that dehydration, acute illness, or past treatments are making access tough.
Knowing when to stop is not a weakness. It is the mark of a nurse who puts patient safety and comfort first.
Build your IV confidence with PRN shifts
There is no shortcut to becoming great at placing IVs. Confidence comes from repetition and exposure to a wide range of patient populations until feeling a deep, bouncy vein becomes second nature.
Per diem work is one of the best ways to get those reps. On an app like Nursa, you can pick up PRN shifts in emergency care, surgical units, or step-down floors, and work as an independent contractor with full control over your schedule.
Mastering difficult sticks comes down to a calm, thoughtful process rather than luck. Assess why the vein is hard, prepare the site well, trust your fingertips over your eyes, drop your angle the moment you see blood return, and never let pride keep you sticking with a patient who needs a specialist.
Ready to take your procedural skills into flexible settings near you?
Create your account on Nursa today and find open PRN shifts in your area.
Sources: